When it comes to renovating or upgrading your space, one of the key elements that can transform the look and feel of a room is tiling. Whether you are looking to revamp your kitchen, bathroom, or outdoor area, choosing the right tiles and ensuring proper installation are crucial steps in achieving the desired outcome. In Perth, there are a plethora of tiling solutions available, ranging from materials to designs, making it essential to understand the process from selection to installation to make informed decisions. This ultimate guide will provide you with all the information you need to know to embark on your tiling project in Perth.
Selecting the Right Tiles
Types of Tiles
- Porcelain Tiles: Known for their durability and water resistance, making them ideal for bathrooms and outdoor areas.
- Ceramic Tiles: Versatile and cost-effective option suitable for various indoor applications.
- Natural Stone Tiles: Includes marble, granite, and travertine, offering a luxurious and unique look to any space.
- Glass Tiles: Reflect light and add a modern touch, often used as accent pieces or splashbacks.
Tile Sizes and Shapes
- Standard sizes include 12×12, 12×24, and 24×24 inches, but there are also various shapes such as hexagon, subway, and mosaic.
- Consider the size of the room and the pattern you want to achieve when selecting tile sizes and shapes.
Preparing for Installation
Surface Preparation
- Ensure the surface is clean, smooth, and level before installing tiles to ensure a uniform finish.
- Use a suitable backer board or waterproof membrane in wet areas to prevent moisture damage.
Gathering Tools and Materials
- Trowel, spacers, tile cutter, grout, sealer, and sponge are essential tools for tiling installation.
- Choose the right adhesive based on the tile material and surface type for a strong bond.
Tile Installation Process
Step 1: Layout
- Plan the tile layout to ensure even cuts and a balanced appearance, starting from the center of the room.
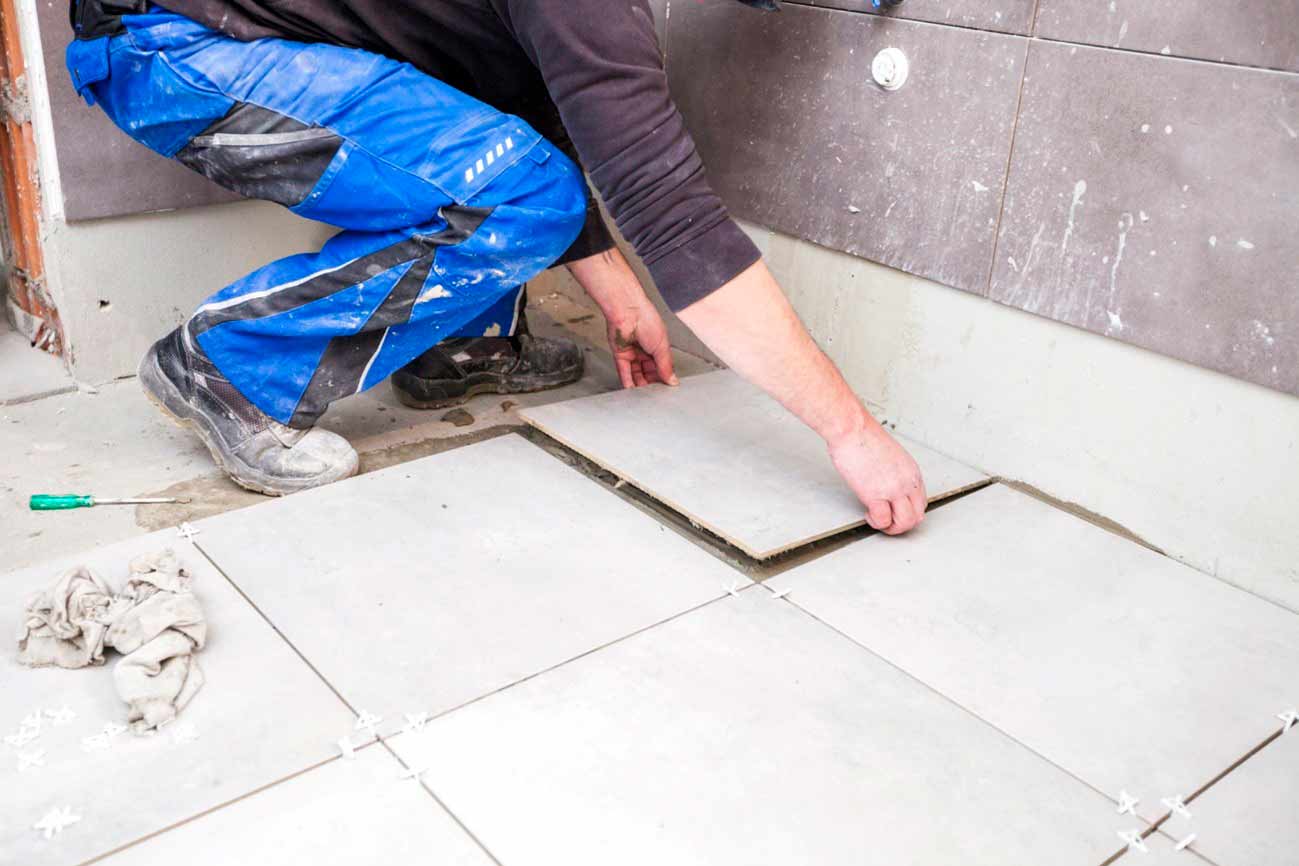
- Use spacers to maintain consistent grout lines and adjust as needed to accommodate corners and edges.
Step 2: Cutting and Setting Tiles
- Measure and cut tiles as required using a tile cutter or wet saw for precision.
- Apply adhesive to the back of the tile and press firmly onto the surface, using spacers to maintain spacing.
Step 3: Grouting and Sealing
- Mix grout according to instructions and fill the gaps between tiles using a grout float, ensuring all spaces are filled.
- Once the grout has dried, apply a sealer to protect the tiles from stains and moisture, following the manufacturer's guidelines.
Maintaining Your Tiled Surface
Cleaning Tips
- Regularly sweep or vacuum tiled floors to remove dirt and debris that can scratch the surface.
- Use a mild detergent or specialized tile cleaner to mop tiled floors and wipe down walls or splashbacks.
Maintenance Practices
- Inspect grout lines for cracks or damage and repair as needed to prevent water infiltration.
- Reapply sealant periodically to maintain the integrity of the tiles and protect them from wear and tear.
Choosing Professional Tilers in Perth
Research and Recommendations
- Look for certified and experienced tilers in Perth with positive reviews and testimonials from previous clients.
- Ask for recommendations from friends or family members who have recently completed a tiling project.
Get Quotes and Compare
- Obtain quotes from multiple tilers in Perth to compare prices, services offered, and timelines for completion.
- Avoid choosing the cheapest option without considering the quality of work and materials used.
By following this ultimate guide to tiling solutions in Perth, you can confidently navigate the selection and installation process to achieve a stunning tiled surface in your home. From choosing the right tiles to maintaining them for years to come, these tips will help you make informed decisions and create a beautiful space that reflects your style and personality.

